Are you a budding game developer looking to create your first 3D game? Look no further than these top tools for beginners! In this article, we will explore the best 3D game development tools available today, including their features, advantages and disadvantages, and how they can help you bring your ideas to life.
Table of Contents
-
Introduction: Why Choose a 3D Game Development Tool?
-
Unity 3D: A Beginner’s Guide
-
Features and Benefits
-
Creating Your First Unity Project
-
Tips for Successful Unity Game Development
-
-
Blender: A Comprehensive Solution for 3D Game Development
-
Features and Benefits
-
Creating Your First Blender Project
-
Tips for Successful Blender Game Development
-
- Stencyl: An Easy-to-Use Tool for Game Creation
-
Features and Benefits
-
Creating Your First Stencyl Game
-
Tips for Successful Stencyl Game Development
-
- Construct 3: A Visual Scripting Language for Game Development
-
Features and Benefits
- Creating Your First Construct 3 Game
- Tips for Successful Construct 3 Game Development
-
- FAQs: Frequently Asked Questions About 3D Game Development Tools
-
Conclusion
: The Future of 3D Game Development
Introduction: Why Choose a 3D Game Development Tool?
3D game development tools are essential for creating immersive and interactive games in a virtual world. With the right tool, you can bring your game ideas to life, create stunning graphics, add animations and sounds, and test and refine your game until it’s ready to be shared with the world. In this article, we will explore the best 3D game development tools available today for beginners, so you can choose the right tool for your needs.
Unity 3D: A Beginner’s Guide
Unity 3D is a powerful and popular game engine that allows you to create games for a wide range of platforms, including Windows, Mac, iOS, Android, and more. With Unity, you can create games in 2D or 3D, with support for both 2D sprite-based and 3D mesh-based graphics.
Features and Benefits
Unity offers a range of features that make it an ideal choice for game developers. Some of the key benefits of Unity include:
- Easy to learn and use: With a simple drag-and-drop interface, even beginners can create complex games in no time.
- Cross-platform support: Unity supports multiple platforms, so you can create games that run on Windows, Mac, iOS, Android, and more.
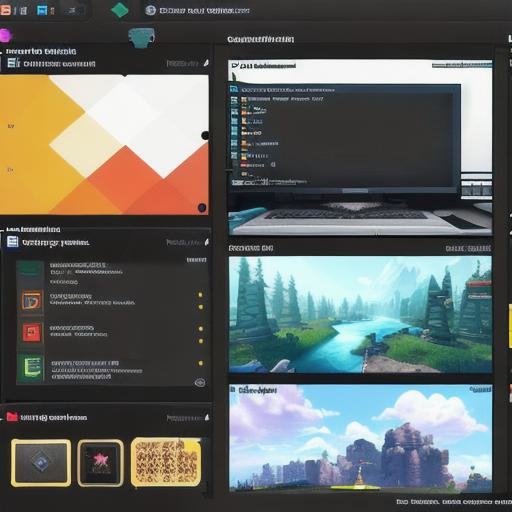
- Asset store: Unity has a vast library of assets, including pre-made models, textures, animations, and more, so you can quickly add content to your game without having to create it from scratch.
- Monetization options: With Unity, you can monetize your games through in-app purchases or advertising.
Creating Your First Unity Project
To get started with Unity, you will need to download the software and create a new project. Here are the steps to follow:
- Go to the Unity website and download the latest version of the software.
- Install Unity on your computer and launch it.
- Click on "New Project" in the main menu.
- Choose the type of game you want to create (e.g., 3D, 2D, or AR/VR) and click "Next".
- Select a template for your game and click "Create Project".
- In the new project window, you will see a list of assets that come with the template. You can add, remove, or modify these assets to suit your needs.
- Once you have added all the necessary assets, you can start building your game by creating scenes, adding objects and characters, and programming the game logic.
Tips for Successful Unity Game Development
Here are some tips for successful Unity game development:
- Learn the basics of C programming language, as it is used to script in Unity. You can find plenty of online resources and tutorials to help you learn.
- Use version control to keep track of changes to your code and collaborate with other developers.
- Optimize your game for performance by minimizing the number of draw calls, reducing the size of textures, and using efficient algorithms.
- Test your game on multiple platforms to ensure it runs smoothly and looks good on all devices.
- Join the Unity community to connect with other developers, share ideas and get help when you need it.
Blender: A Comprehensive Solution for 3D Game Development
Blender is a free and open-source 3D modeling and animation software that is widely used in the gaming industry. With Blender, you can create 3D models, animations, textures, and more, and export your work to a range of game engines, including Unity and Unreal Engine.
Features and Benefits
Blender offers a wide range of features that make it an ideal choice for game developers. Some of the key benefits of Blender include:
- Free and open-source: Blender is free to download and use, with no limitations on what you can create or distribute.
- Versatile: Blender can be used for 3D modeling, animation, texturing, lighting, and more, so you can create the entire game in one software.
- Extensive tutorials and resources: Blender has a vast library of tutorials and resources to help you learn how to use the software effectively.
- Community support: Blender has a large and active community of users who contribute to the development of the software and share their knowledge with others.
Creating Your First Blender Project
To get started with Blender, you will need to download the software and create a new project. Here are the steps to follow:
- Go to the Blender website and download the latest version of the software.
- Install Blender on your computer and launch it.
- Click on "File" in the main menu and select "New Scene".
- In the new scene window, you will see a default cube. You can start by adding more objects to the scene, such as a camera, a light, and some characters.
- Once you have added all the necessary objects, you can start sculpting and texturing them to create your game assets.
- To export your work to Unity or Unreal Engine, you will need to use the appropriate export plugin for each engine. You can find these plugins in the Blender add-ons menu.
Tips for Successful Blender Game Development
Here are some tips for successful Blender game development:
- Learn the basics of Python programming language, as it is used to script in Blender. You can find plenty of online resources and tutorials to help you learn.
- Use version control to keep track of changes to your code and collaborate with other developers.
- Optimize your game for performance by minimizing the number of polygons, reducing the size of textures, and using efficient algorithms.
- Test your game on multiple platforms to ensure it runs smoothly and looks good on all devices.
- Join the Blender community to connect with other developers, share ideas and get help when you need it.
Stencyl: A Visual Programming Tool for Game Development
Stencyl is a visual programming tool that allows you to create games without writing any code. With Stencyl, you can drag and drop game elements such as characters, objects, and effects onto the canvas and connect them with logic blocks to create your game.
Features and Benefits
Stencyl offers several benefits for game development:
- Visual programming: Stencyl allows you to create games without writing any code, making it easier for beginners to get started.
- Game templates: Stencyl has a library of game templates that you can use as a starting point for your project.
- Collaboration: Stencyl allows multiple users to work on the same project simultaneously, making collaboration easy and efficient.
- Export options: You can export your game to HTML5, Flash, or JavaScript platforms.
Creating Your First Stencyl Game
To get started with Stencyl, you will need to create a new game project. Here are the steps to follow:
- Go to the Stencyl website and sign up for an account.
- Click on "New Project" in the main menu.
- Choose a game template from the library and click "Next".
- In the new project window, you will see a canvas where you can add game elements and connect them with logic blocks.
- Once you have added all the necessary elements and connected them with logic blocks, you can preview your game by clicking on the "Preview" button.
- To export your game, click on the "Export" button and select the platform you want to use (e.g., HTML5, Flash, or JavaScript).
Tips for Successful Stencyl Game Development
Here are some tips for successful Stencyl game development:
- Learn the basics of visual programming by experimenting with the logic blocks in Stencyl.
- Use version control to keep track of changes to your code and collaborate with other developers.
- Optimize your game for performance by minimizing the number of objects, reducing the size of textures, and using efficient algorithms.
- Test your game on multiple platforms to ensure it runs smoothly and looks good on all devices.
- Join the Stencyl community to connect with other developers, share ideas and get help when you need it.
Conclusion
In conclusion, there are many tools and software available for game development, each with its own features and benefits. Choosing the right tool for your project depends on your experience level, the type of game you want to create, and your budget. By experimenting with different tools and techniques, you can find the best approach for your game development needs.
