If you have always been fascinated by video games and want to create your own, learning how to develop 2D games is a great place to start. In this article, we will guide you through the process of creating your first game using Unity, one of the most popular game engines in the world. We will cover everything from the basics of programming to advanced techniques for creating engaging gameplay experiences.
Getting Started with 2D Game Development: What You Need to Know
Before we dive into the technical details of 2D game development, let’s first discuss what makes 2D games different from their 3D counterparts. 2D games use a flat, 2-dimensional space to represent game objects and environments. This means that everything in the game world is a 2D shape, such as sprites (images) or vector graphics.
One of the main advantages of 2D game development is that it requires fewer resources than 3D games. This means that you can create games with lower hardware requirements and faster load times, making them more accessible to a wider audience. Additionally, 2D games are often easier to develop because they require fewer tools and techniques than their 3D counterparts.
To get started with 2D game development, you will need the following:
- A computer with a recent operating system (such as Windows or Mac OS)
- A text editor (such as Notepad or Visual Studio Code) for writing code
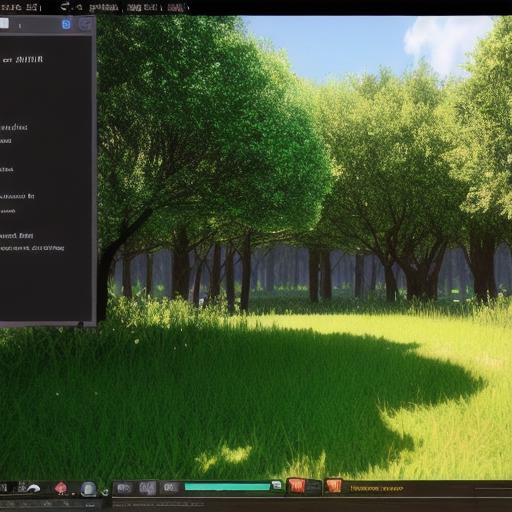
- An integrated development environment (IDE) such as Unity or Construct 3
- A graphics editor for creating game assets (such as Adobe Photoshop or GIMP)
- Basic programming skills in a language such as C or JavaScript
Unity: The Most Popular Game Engine for 2D Game Development
Unity is one of the most popular game engines in use today, with over 50% of all professional games being built with it. It is free to use and has a large and supportive community of developers who create assets, tools, and plugins to enhance its functionality.
One of the main advantages of using Unity for 2D game development is that it supports both 2D and 3D game creation. This means that you can start with 2D games and easily transition to 3D games as your skills progress. Additionally, Unity has a wide range of tools and features specifically designed for creating 2D games, such as the 2D UI toolkit and the 2D animator.
To get started with Unity, follow these steps:
- Download and install Unity from the official website (https://unity3d.com/get-unity).
- Open Unity and create a new project by clicking on "File" > "New Project."
- Choose a template for your game, such as 2D platformer or top-down shooter.
- Customize the template to fit your needs by adding or removing game objects, changing the layout of the scene, and adjusting the settings in the project window.
- Import your game assets, such as images or audio files, into Unity using the "Assets" menu.
- Write code to control the behavior of your game objects using C or JavaScript.
- Test your game by pressing the play button in the Unity editor or building a standalone executable for Windows, Mac, Linux, or mobile devices.
Creating Your First Game: A Step-by-Step Guide
Now that you have Unity installed and set up, let’s create your first game. We will be creating a simple platformer game where the player controls a character who jumps on platforms to progress through levels.
Step 1: Create the Scene
The first step in creating your game is to create the scene, which is the 2D space where the game world will be rendered. To create a new scene in Unity, follow these steps:
- Open your project in Unity.
- In the project window, click on "Assets" > "Create" > "Scene."
- Name the scene something descriptive, such as "Level 1."
- Double-click on the scene to open it in the scene view.
Step 2: Add Game Objects
The next step is to add game objects to the scene, which will represent the various elements in your game world, such as platforms, enemies, and the player character. To add a game object, follow these steps:
- In the project window, go to "GameObject" > "2D Object."
- Choose the type of 2D object you want to create, such as a sprite or a rectangle.
- Position and scale the game object in the scene view using the transform tools (move, rotate, and scale).
- Add any necessary components to the game object, such as a collider for detecting collisions or a script for controlling its behavior.
Step 3: Create the Player Character
The player character is the main protagonist of your game, and it’s important to create a compelling and engaging character that players will want to control. To create the player character, follow these steps:
- In the project window, go to "GameObject" > "2D Object."
- Choose a sprite for the player character and import it into Unity using the "Assets" menu.
- Position and scale the sprite in the scene view.
- Add a collider component to the sprite to detect collisions with other game objects.
- Create a new script for the player character by going to "Assets" > "Create" > "C Script."
- Name the script something descriptive, such as "PlayerController."
- In the script, write code to control the behavior of the player character, such as making it move left or right when the user presses the arrow keys.
- Attach the script to the sprite by dragging and dropping it onto the sprite in the scene view.
Step 4: Create the Levels
The levels of your game are where the player will spend most of their time, so it’s important to create engaging and challenging levels that keep them motivated to continue playing. To create a level, follow these steps:
- In the project window, go to "Assets" > "Create" > "Scene."
- Name the scene something descriptive, such as "Level 1."
- Add game objects to the scene view, such as platforms and enemies, using the same methods described in step 2.
- Create a new script for the level by going to "Assets" > "Create" > "C Script."
- Name the script something descriptive, such as "LevelDesign."
- In the script, write code to control the behavior of the game objects in the level, such as making the platforms move or the enemies shoot projectiles.
- Attach the script to the game objects in the scene view by dragging and dropping it onto the objects.
- Repeat steps 3-7 to create additional levels for your game.
Step 5: Add User Interface Elements
The user interface (UI) of your game is what allows players to interact with your game world, such as by displaying the score or showing the player’s health. To add UI elements to your game, follow these steps:
- In the project window, go to "Assets" > "UI" > "Text."
- Choose a font and color for the text and import it into Unity using the "Assets" menu.
- Position and scale the text in the scene view.
- Add a new script for the UI element by going to "Assets" > "Create" > "C Script."
- Name the script something descriptive, such as "ScoreDisplay."
- In the script, write code to update the text with the player’s score or other relevant information.
- Attach the script to the UI element by dragging and dropping it onto the element in the scene view.
Step 6: Test Your Game
The final step is to test your game to ensure that everything is working correctly and that the player has a fun and engaging experience. To test your game, follow these steps:
- Press the play button in the Unity editor to run the game.
- Control the player character using the keyboard or other input devices.
- Verify that the levels are challenging and that the player is able to progress through them.
- Check the UI elements to ensure that they are displaying the correct information and that they are easy to read.
- Make any necessary adjustments to your game based on your testing, such as adding more enemies or changing the difficulty of the levels.
Congratulations! You have now created your first 2D platformer game using Unity. With practice and experimentation, you can continue to create more complex and engaging games that showcase your creativity and programming skills.